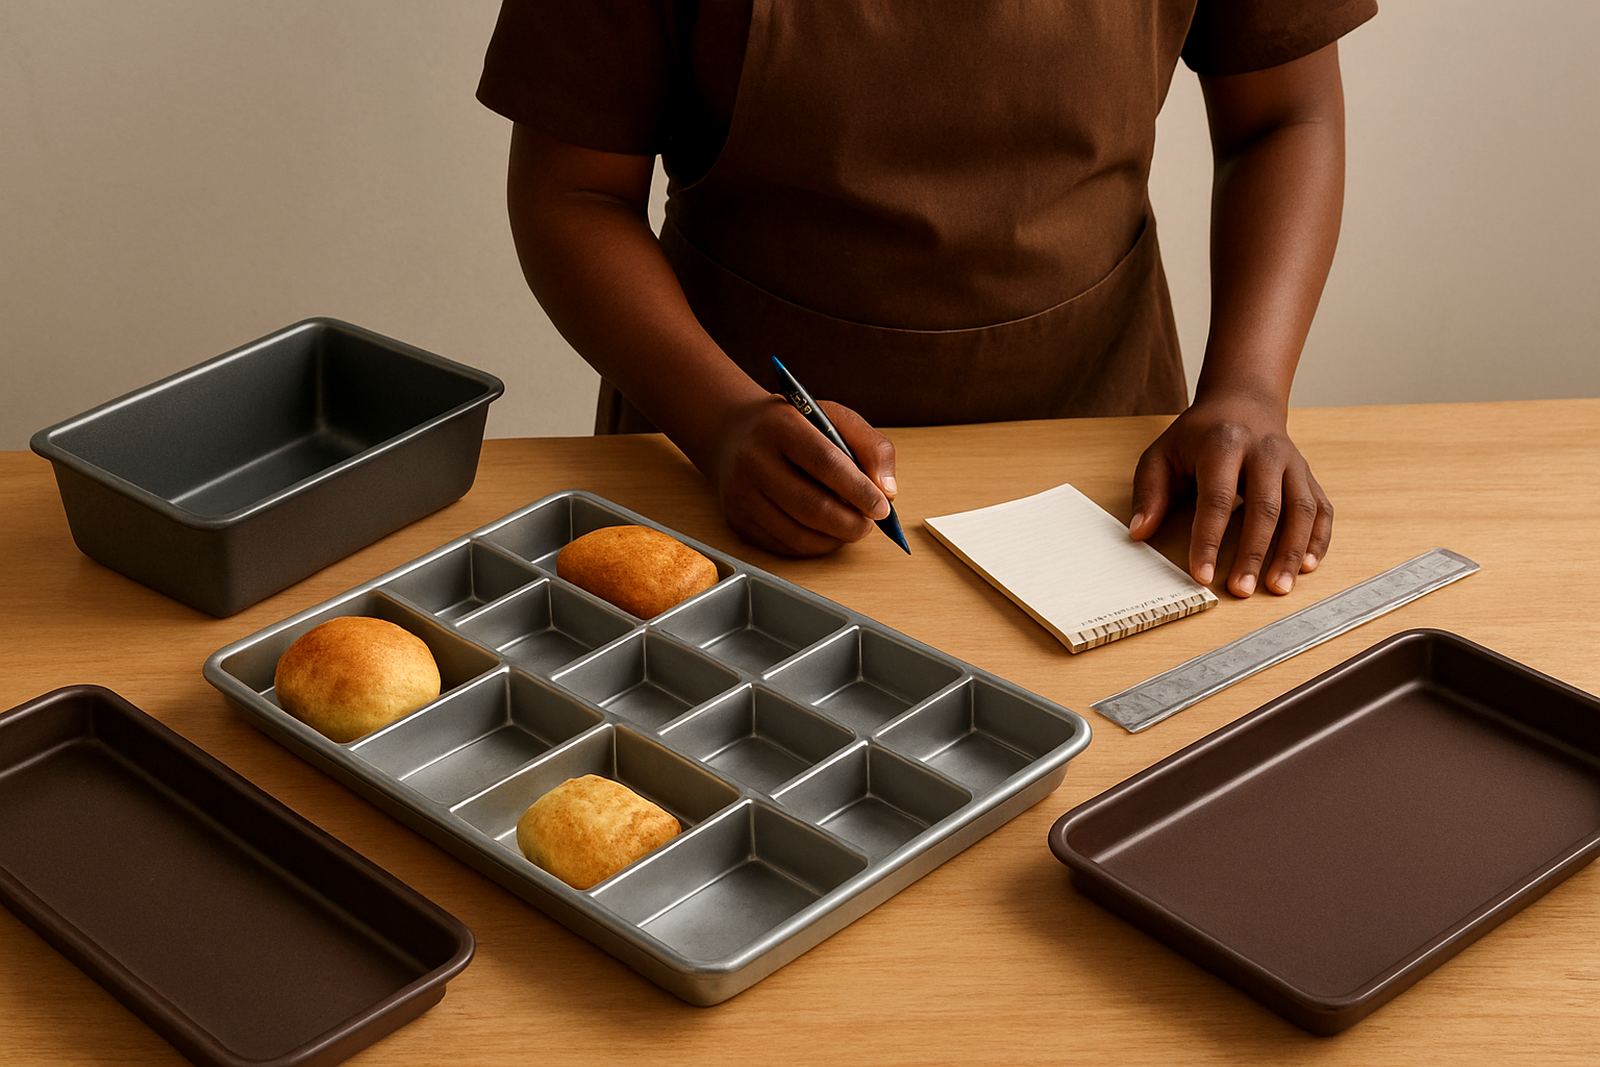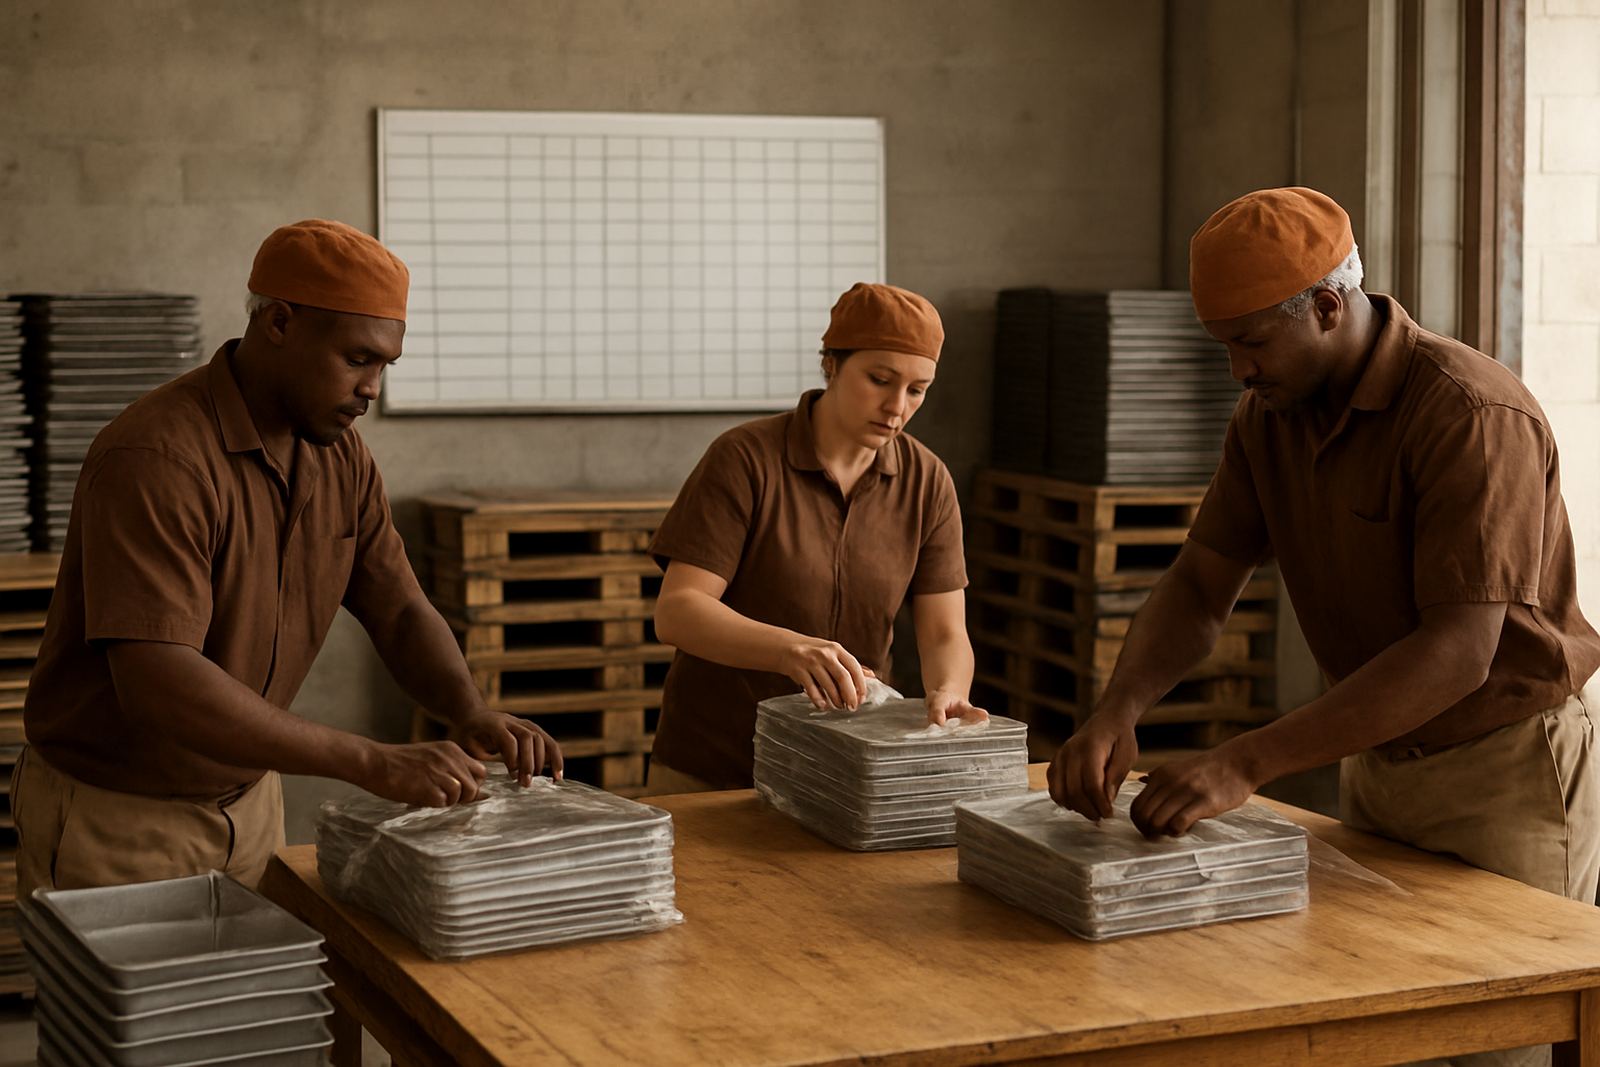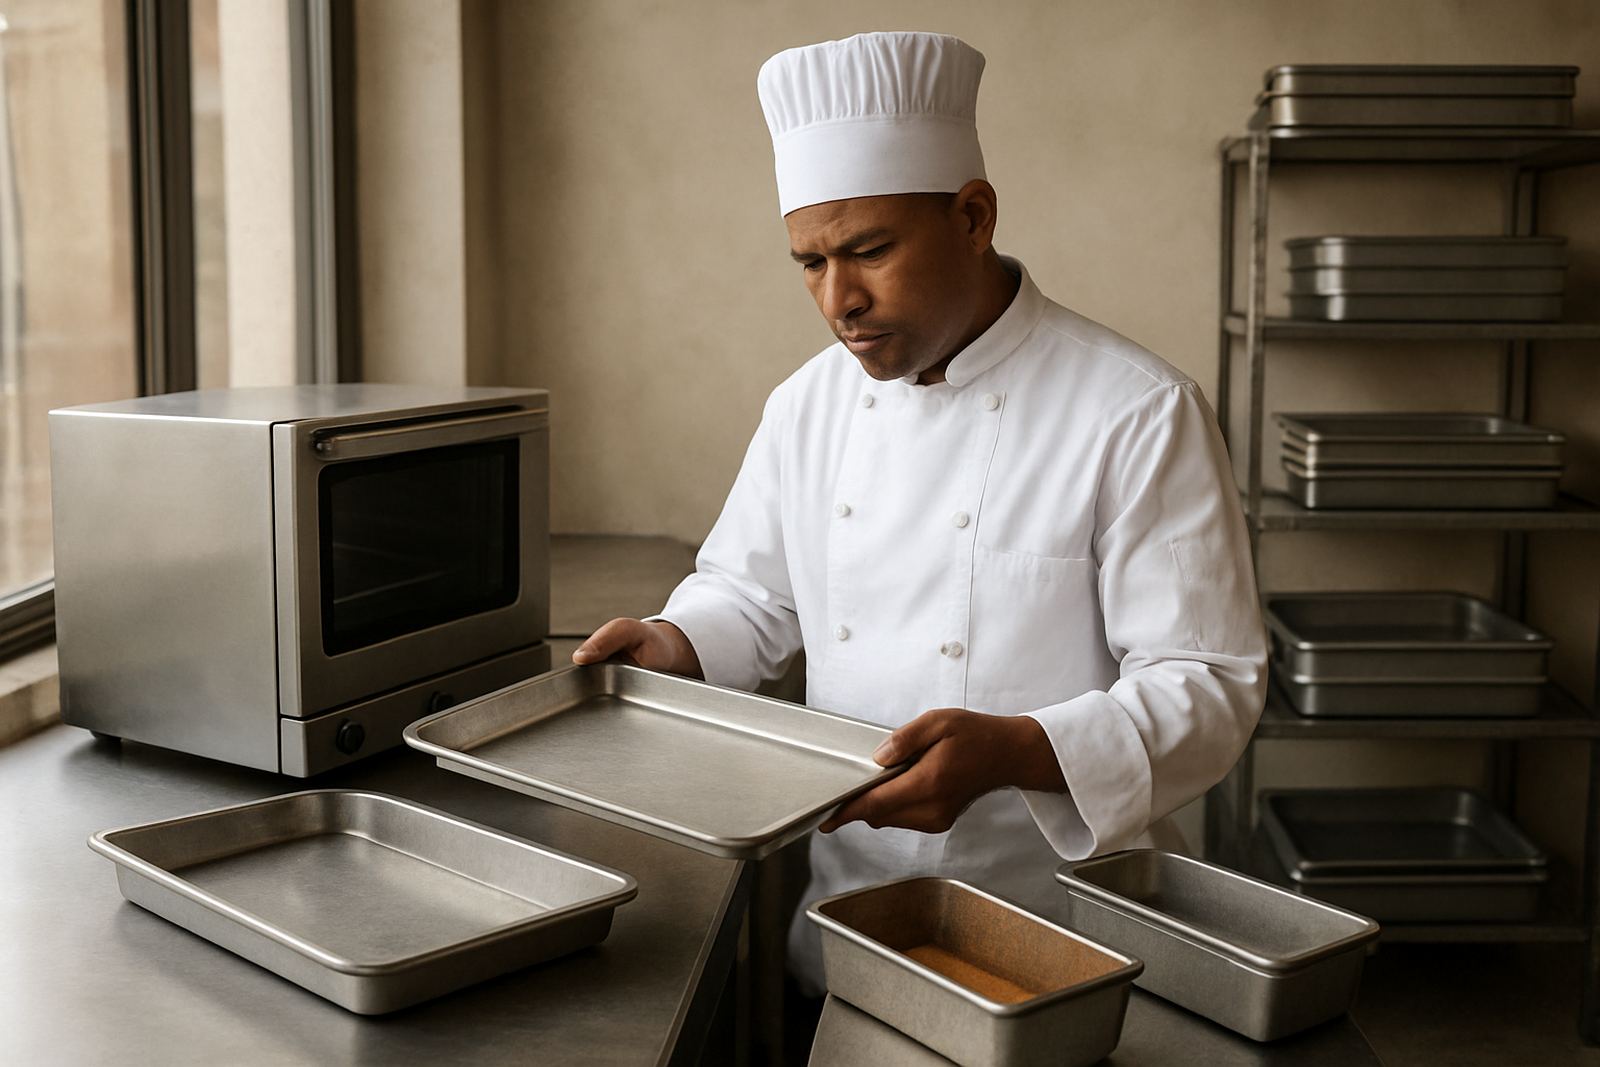

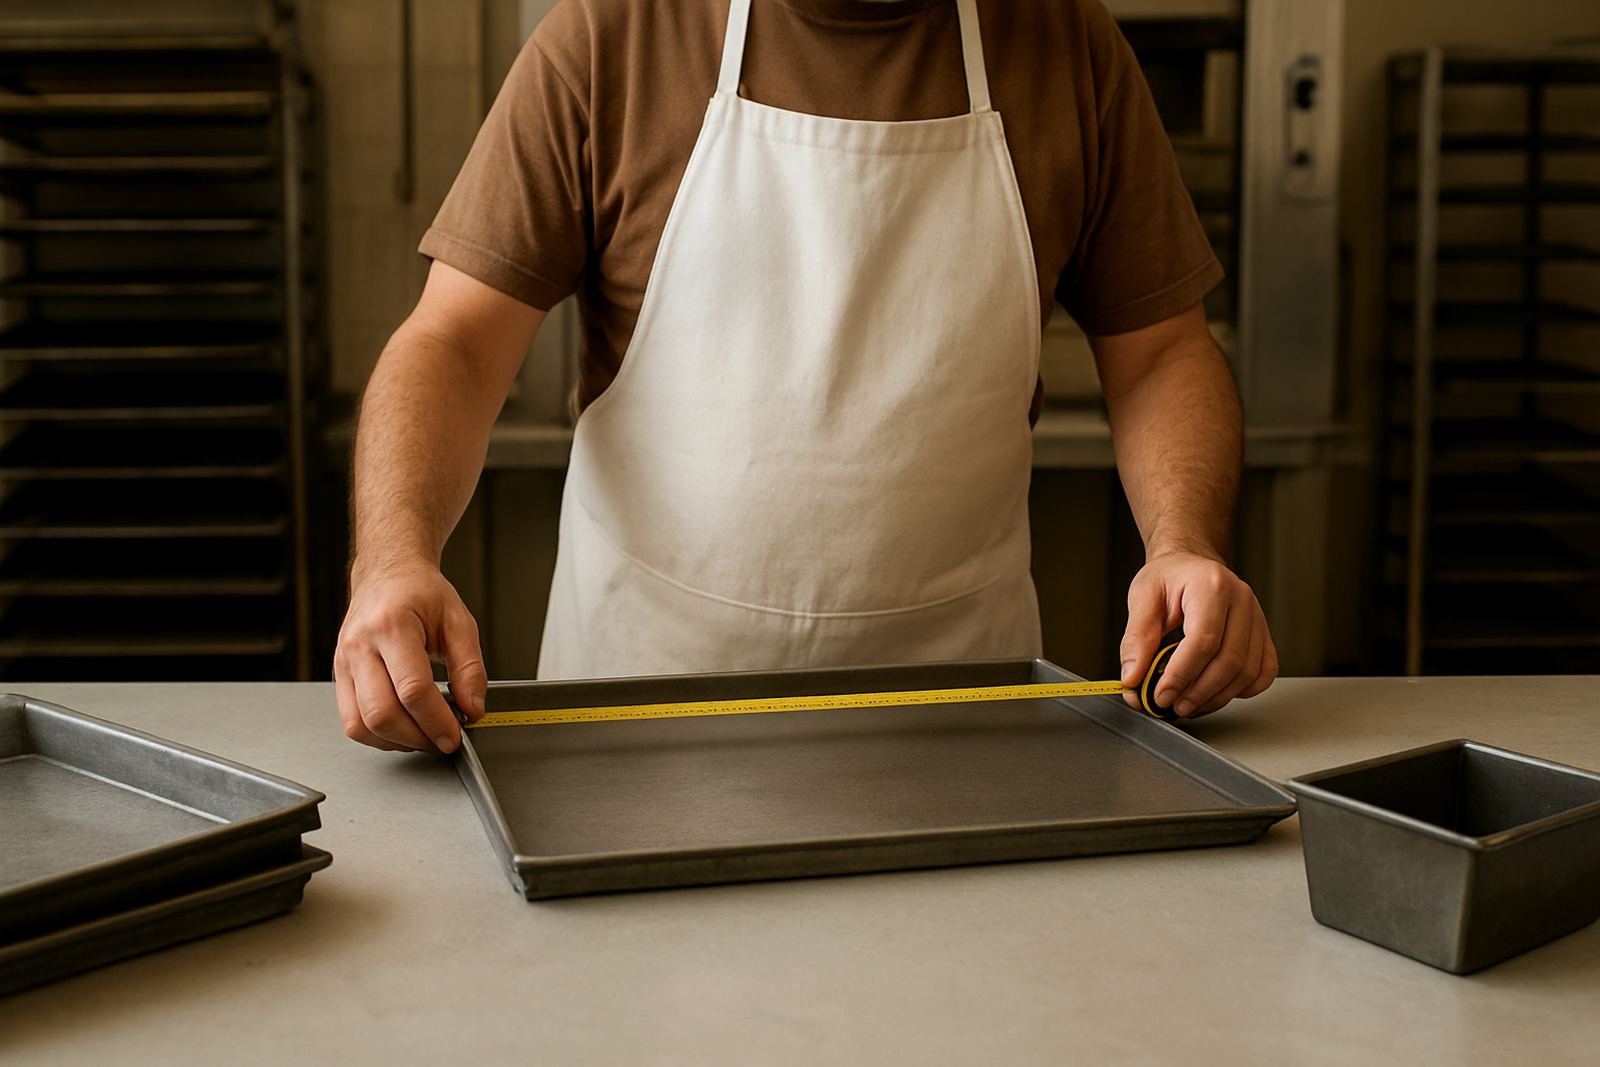
Start with the oven, rack and trolley footprint
Before you look at the tray itself, measure the equipment it must fit into. A tray that is fine on paper can catch on side rails, sit too loose in a rack or waste valuable space in a tunnel oven or deck oven. In plant bakeries, hotels and retail bakeries, the first check is always the usable internal width, depth and any lip or runner that reduces the opening.
Use a tape measure and write down the clear internal size in millimetres. Measure the widest point, the deepest point and the height available above the tray if you are stacking or loading proofed product. If your trays move through a rack system, check the rack slot pitch as well as the tray lip depth. A tray can be the right overall size but still bind on a bent runner or sit uneven in a worn rack.
- Measure the oven chamber, rack shelf or trolley bay in mm
- Check the usable opening not just the outer frame
- Allow for handles, lips, hooks and wheel guards
- Note any damage, bending or rust that reduces the real clearance
Confirm the tray footprint, not only the product size
The tray footprint is the outside size of the tray, while the usable baking area is the space inside the rim or upturn. Many customers ask for a tray by the product it carries, but the oven and rack care about the footprint first. Once that is right, we can match the inside area to the loaf, roll, slice or pastry item.
If you are replacing older trays, check if they were made with a turned edge, welded corner or open rim. These details change the exact fit. For bread pans and deep trays, the base size may look correct but the top opening and stack height may be different. That matters when trays pass through depanners, cooling lines and wash areas.
- Outside length and width in mm
- Inside baking area after the rim or side wall
- Depth of the tray or pan
- Stacking height if trays are nested or stored upright
Allow for product spacing and bake performance
Good tray size is not only about fitting into the oven. Product spacing affects heat flow, colour and how evenly items bake. If items are packed too closely, steam can sit between them and the centre may stay pale or soft. If there is too much empty space, you may lose output and use more energy per batch.
For rolls, buns and small confectionery items, allow enough gap for expansion during proofing and baking. For loaves and pans, leave enough room for oven spring and a clean release. In high humidity areas like Durban and the coastal belt, dough can behave differently from inland sites, so tray spacing should be checked during real production, not only in a dry workshop.
- Leave space for expansion during proofing and bake-up
- Keep product rows even for consistent colour
- Check whether steam, top heat or airflow changes the result
- Test one batch before committing to a large tray order
Match the tray to your handling method
How the tray is handled is just as important as how it bakes. A tray moved by hand, stacked on a trolley or pushed through a conveyor line all needs different details. Thin steel may be fine for light use, but repeated loading, washing and stacking can twist corners or pull welds if the tray profile is not right.
In bakeries that run through load shedding or generator changeovers, production can be rushed. That is when trays get knocked, dropped or pushed in too fast. If you are ordering replacements, look at the damage pattern on the old trays. Bent corners, split seams and bowed centres tell you where the stress is happening.
- Hand loading, rack loading or conveyor transfer
- Whether trays are stacked, nested or returned loose
- Heat exposure, wash cycles and cool down times
- Signs of twist, bowing or cracked welds on old trays
Use a simple measuring checklist before you order
If you are comparing a sample tray to an existing one, record every measurement in the same way each time. Measure from the outside edge to outside edge and then check the internal space. Do not guess where a corner starts or where a rim ends. Small differences can affect fit, especially when you are ordering multiples for a plant bakery, hotel kitchen or retailer.
Take photos with a ruler next to the tray and note the batch number if there is one. If the old tray has warped, measure it on a flat surface and mark the high points. That gives a better idea of the true working size. If you are unsure, send us the measurements before placing an order and we can help you compare them against your actual use.
- Outer length, width and depth
- Inside baking area and corner style
- Material thickness if known
- Condition of the sample, including bowing or wear
When a custom tray is better than forcing a near match
Some sites keep using a tray that is almost right because it is quicker in the short term. That can cost more later through poor loading, broken edges and product inconsistency. If your oven set-up, rack spacing or product size has changed, a custom tray can bring the line back into proper working order.
Custom trays are useful when you need a special footprint, deeper side walls, stronger corners or a layout that suits your actual batch size. They are also practical when old trays have been repaired several times and the fit is no longer reliable. For Westmead, Pinetown and surrounding sites, we also check for common wear from steam, washdown and coastal air, because rust and distortion can shorten tray life. A tray that fits well today should still fit after long shifts and regular handling, not just on day one.
If you need replacement trays, floor tiles or pan repairs, send the measurements and a clear photo to sales@bakerite.co.za. We work from our Westmead base in Pinetown and supply plant bakeries nationally, including Durban, New Germany and the Upper Highway area.